Before you begin
The Edit Groups function enables you to define roles for each of your staff members by allowing you to set specific security privileges to individuals or groups. By using this feature, you can customise your Genie for seamless functionality.
This article will guide you on how to create your groups, as well as how to add and remove permissions and members to these groups.
Before you decide to move into customising your user’s privileges, you will need to think about the specific roles within your practice and what functions within Genie each person needs access to. A good idea will be to note down the different departments in your practice, and then think about the different tasks each of these departments use Genie for. This will give you a better idea of how to set your permissions.
Setting up groups
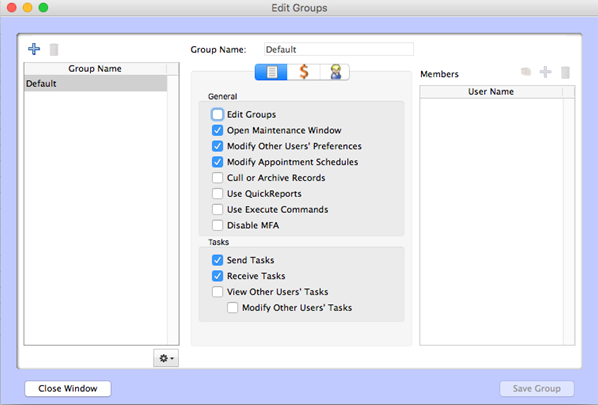
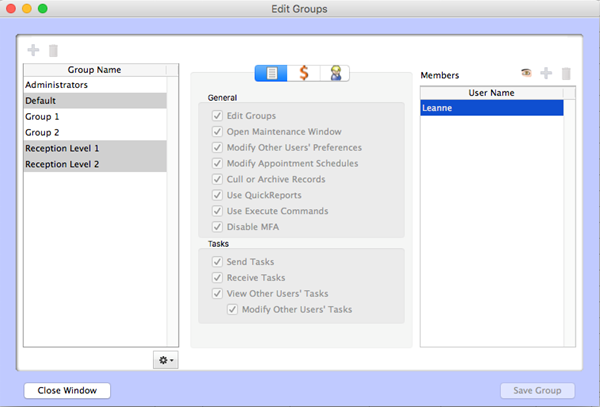
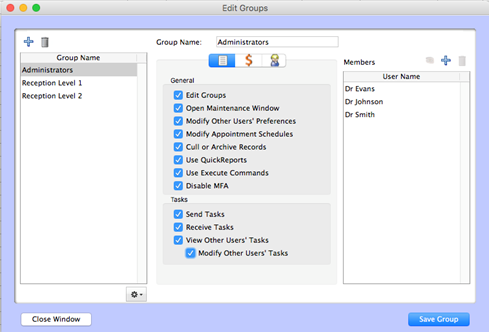
To configure and modify these security settings, navigate to File > Edit Groups. From installation, this window will contain a group called Default, which contains the minimum-security settings. These will be the settings enabled for all users in the practice until they are added to a specific group.
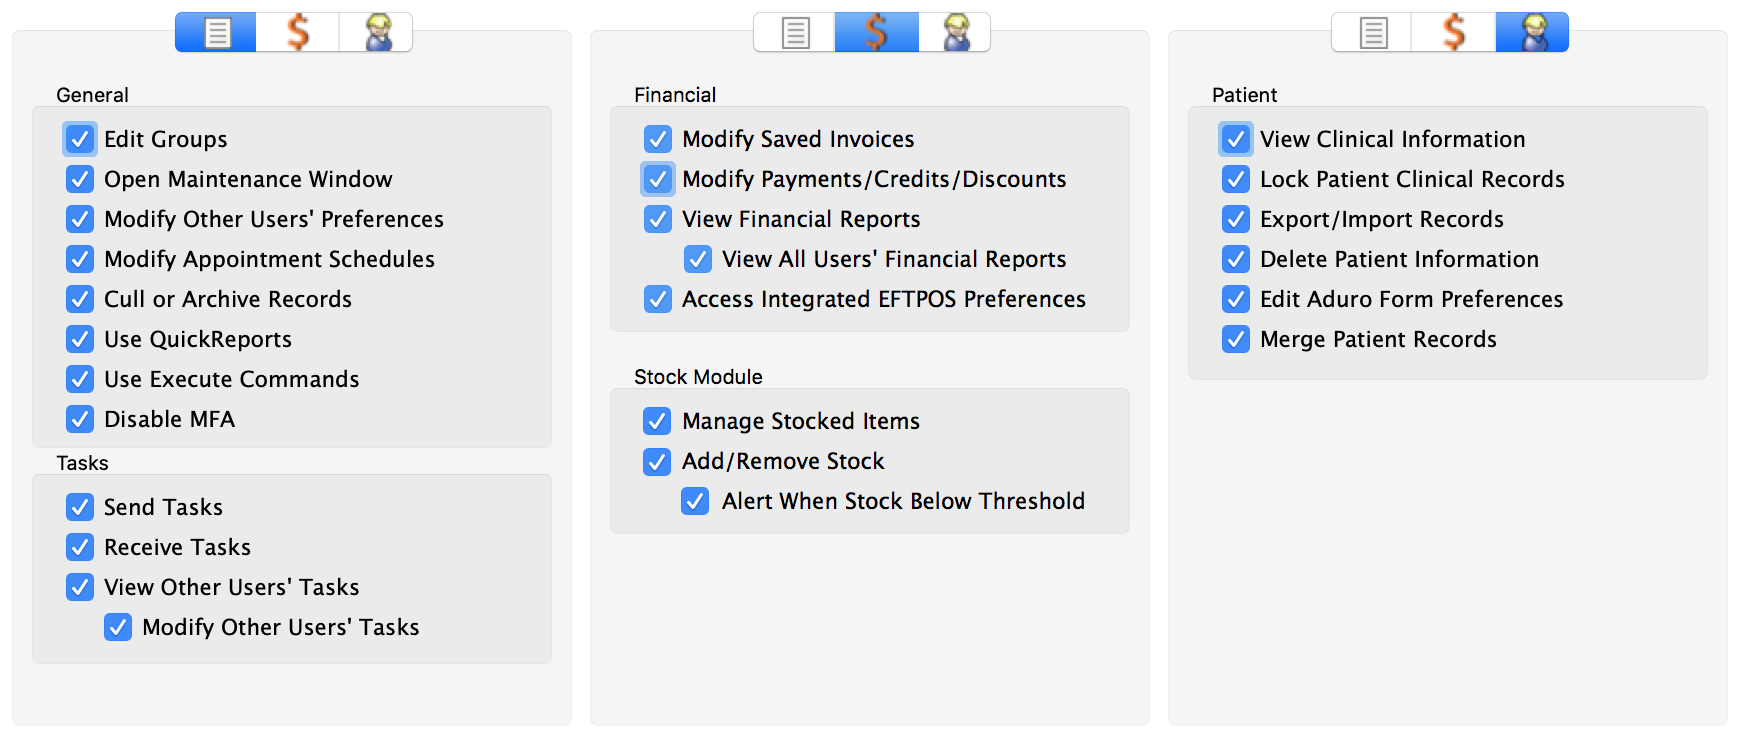
You can see users’ permissions for different areas in Genie by clicking on the General  , Financial
  and Patient
  tabs.
tabs.
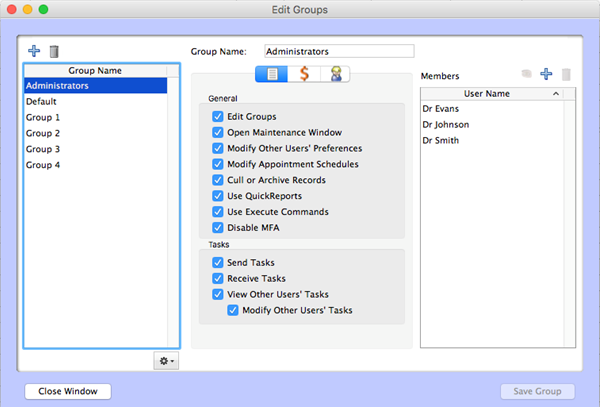
In addition to the Administrators and Default groups, you can add as many specific groups as you require. These groups give users additional privileges; each user has the Default group’s privileges plus their own group’s privileges. In this example, we can see the users in the Administrators group have ticks in almost all preferences.
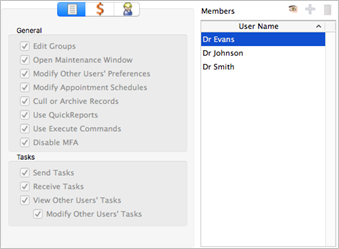
To view their combined permissions, click on the Effective permissions  icon. When you click on this icon, the capabilities list will display their effective permissions. We can now see that Dr Evans has full permissions in Genie.
To return to the normal display, click on the Effective permissions  button again. In this view, you can add or subtract any permissions from these users by ticking or unticking their respective boxes. To tick all checkboxes under a heading, Alt/Option+click on the first item.
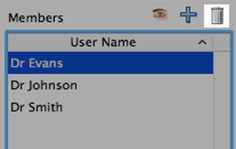
You can add any other users to this group by clicking on the Blue plus button at the top of the Members list. You can remove any of these users by highlighting their name and clicking on the Garbage bin button.

After modifying the users and permissions for this group, you can rename the group if necessary. To rename the group, type into the Group Name field at the top of the window.
Save the changes you have made to the group by pressing Save Group.
Repeat these steps for each of the groups in your list.
Tiered grouping
Some roles in the practice may have permissions that are tiered depending on the user’s position in the practice. By creating groups such as ‘Reception Level 1’ and ‘Reception Level 2’ you can accommodate these varying permissions.
To create a tiered system, follow these steps:
- Create (or rename) a group called ‘Reception Level 1’, or equivalent.
- Add all receptionists to this group.
- Modify the preferences by ticking any permissions you would like these junior receptionists to have. There is no need to tick any of the default preferences.
- Save the changes by clicking on Save Group.
- Create (or rename) a group called ‘Reception Level 2’, or equivalent.
- Add only the receptionists you would like to have these additional permissions.
- Modify the preferences by ticking the additional permissions you would like these senior receptionists to have. There is no need to tick any of the default or ‘Reception Level 1’ permissions.
- Save the changes by clicking on Save Group.
As the senior receptionists belong to both Reception Level 1 and Reception Level 2, their effective permissions will include all of these permissions plus the Default permissions.
The group memberships that are dictating these permissions are highlighted in grey in the Group Name list.
Duplicating or merging groups
Within this window you have the option to duplicate a group, you may need to do this for various reasons. To do this you will need to select the group you wish to duplicate then click on the little settings icon below the Groups list.
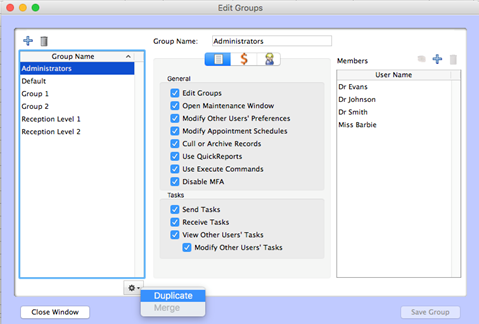
Once you select to Duplicate the highlighted group, Genie will create an identical copy with the same permissions as the original however it will not have any users assigned to the group.
This settings icon will also allow you to Merge several groups into one. To merge groups into one you will need to highlight the specific groups you wish to merge by holding down the Shift key and clicking on the groups with your mouse. Once you have you selected groups highlighted in blue, click on the settings icon and select Merge.
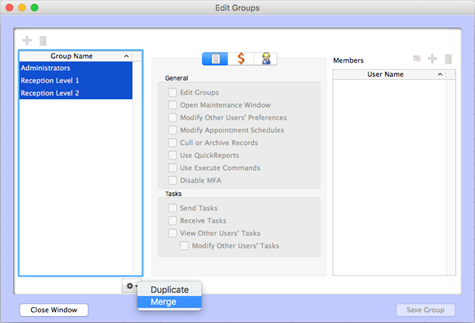
By merging groups, you will also merge the permissions from all selected groups and the users assigned to each into the one single group.
Troubleshooting
'I have allowed one of my groups minimal permissions, but they are still able to do x'
Check your Default permissions. You may find that you have accidentally ticked this permission for the Default group. To rectify this, untick this permission and press Save Group.
If you don’t find this permission in your Default group, this user must belong to another group with this permission. To view all groups this user belongs to, highlight them and click on the Effective Permissions button. This will highlight all of their groups in grey. Inspect each group they belong to and make the decision to either (a) remove them from the group or (b) alter this group’s permissions.
‘I would like one of my users to have their own permissions, I don’t want them to be part of a group’
Every user must be a part of a group. If you would like them to have permissions that are unique to them, they will need to have their own group.
‘I am trying to access x and I am getting an error message stating I don’t have access'
This message means that the user is not a member of the group(s) that can access this function.
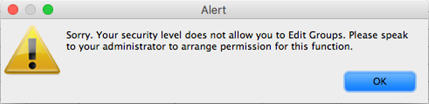
The error message will state that the user should contact the administrator of Genie for assistance with this. If the administrator is unavailable, it is possible to contact any of the users with the Edit Groups permission ticked for one of their groups.
In the example above, Dr Evans, Dr Johnson & Dr Smith would be able to alter these settings.