If you have just updated to Genie v10, your practice (and / or individual doctor) letterheads will be missing when you first open Genie after completing the upgrade. You must create a new letterhead before commencing clinic to ensure that your letterheads continue to appear on invoices, receipts, statements, manual batches, etc.
During the v10 upgrade process, your existing letterheads will be exported and converted to an SVG (Scalable Vector Graphic) image file on your server machine, which you can then either manually reimport, or use as a guide to recreate your letterhead in the newly rewritten letterhead area.
Before you begin
To reimport your letterheads, you will firstly need to copy the image files from your server machine in the following location: Genie\Genie_v9_Export\Letterheads. These can either be copied across to a particular client machine, or made available on a shared network drive.
You can alternatively start from scratch using the "Recreate your letterheads" section below.
Import your letterheads
- Navigate to File > Practice Preferences > Practice Letterhead.
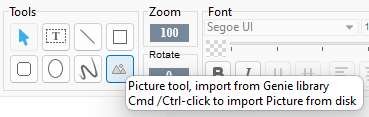
If 'Use Individual Letterheads' is ticked, navigate instead to File > All User Preferences, double-click on a user and go to the Correspondence tab. - Ctrl / Cmd + click on the Picture tool button to search for your letterhead image that was converted during the upgrade process.
- Once you have selected the SVG image, click and drag from the top-left to the bottom-right in the letterhead area to place your image.
Note: macOS users should avoid dragging letterhead images to the far-right border of the letterhead area, as this can cause the letterhead to be cut off when printing invoices and receipts. Instead, leave a small amount of blank space on the right-hand side of the letterhead area.
- Once you are happy with the placement, click Save to save your letterhead and close the preferences window. Repeat steps as necessary if you use individual letterheads for your users.
If you are not happy with the look of your imported letterhead, you can quickly and easily recreate them using the tools available in the SVG editor as outlined in the steps below.
Recreate your letterheads
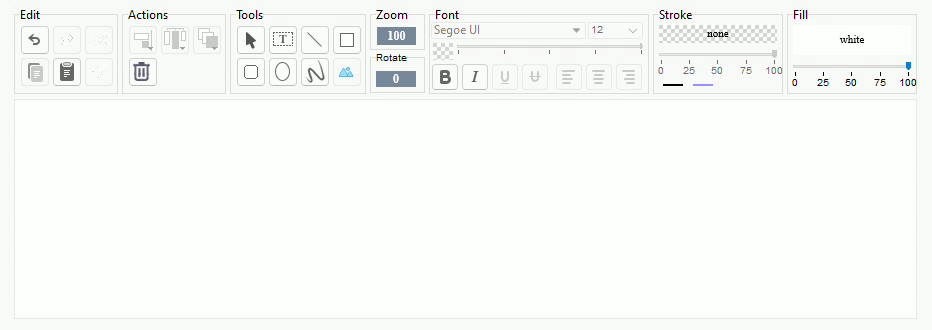
Still in Practice Preferences > Practice Letterhead (or User Preferences > Correspondence), you can get creative and recreate your letterhead using the various tools available.
Hovering over a button in the SVG letterhead editor will provide a tooltip on what each button does.
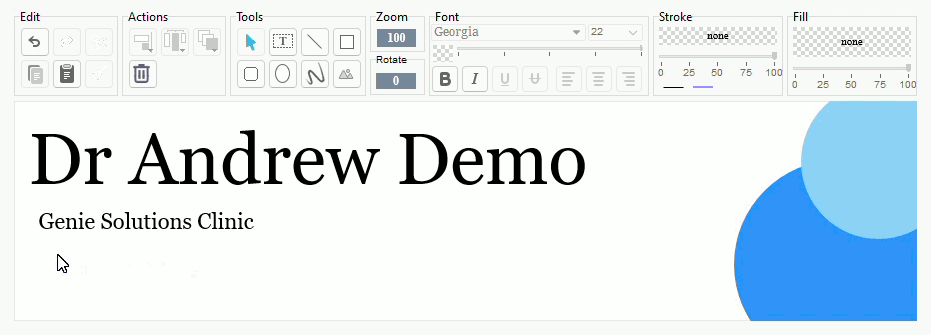
Insert text
You can use the Text tool  to input your letterhead text. Simply click and drag to create a text box on your page, enter your text, then use the Font and Stroke sections to customise the look of your text.
Highlight multiple text boxes at once and use the Align & Centre tool  in the Actions section to align all of your text to one anchor point. You can also easily click and drag text boxes to a specific position.
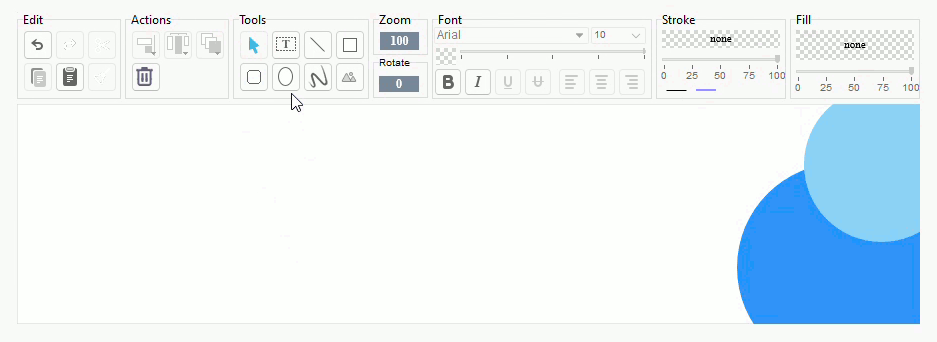
Insert shapes
You can use the Line tools and Shape tools (Rectangle, Rounded Rectangle, Ellipse) to add shapes and custom lines your letterhead.
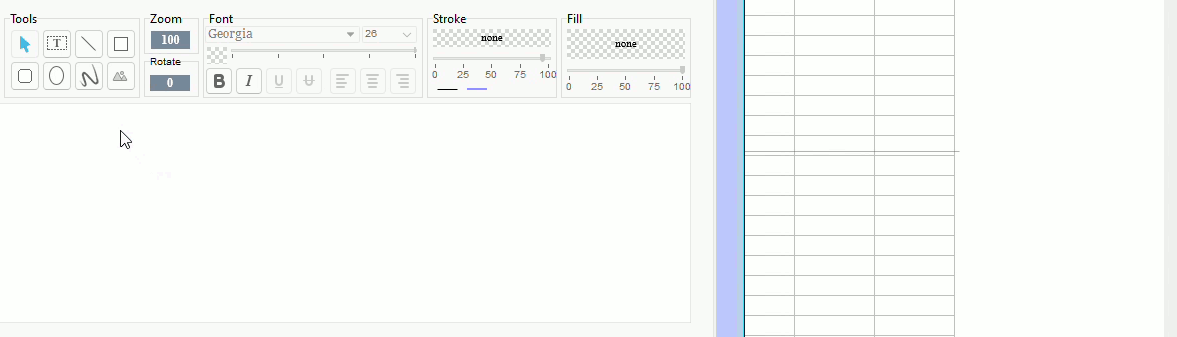
Insert pictures
Use the Picture tool  to insert images from your Picture Library in Genie. Ctrl / Cmd + click on the Picture tool to instead search for an image saved on your computer.
Once you have selected the image, click and drag within the editor area to place your picture within the letterhead.
Update your letter templates
Old letters and existing letter templates will still contain your old letterhead. This can be left as is, or you can update your existing letter templates with your updated letterhead.
Open your red quill and merged letter templates and add your new letterhead using the Your Letterhead expression on the left.
Once you replace the letterhead in your letter templates using the Your Letterhead expression, any time you update your letterhead in Practice Preferences / User Preferences in the future, this will automatically update your letter templates.